Plug into sunshine from your window

Today we’re focusing on DIY apartment solar kits and plug‑in power stations—compact, renter‑friendly setups that harvest daylight from windows, balconies, and patios. Discover practical parts, honest yields, safe installation habits, and real ways to shave bills, power essentials, and build resilient routines without roof access, drills, or complicated permits, while keeping your landlord, neighbors, and local codes happily respected.

Sunlight without a roof

Apartment living narrows options, yet bright possibilities remain. Windows, balconies, and railings can host clever mounts that sip daylight while preserving views and safety. We’ll balance sun angles, shade, wind gusts, and outlet placement to create a tidy, quiet setup that quietly trims bills and builds confidence, without upsetting building rules or the people living just across the hallway.

Panels and mounts that don’t scar walls

Consider clip‑on rail clamps, strap mounts, balcony brackets, planter ballast frames, or tilting window stands that avoid drilling. Protect glass with soft pads, add safety tethers, and leave space behind panels for cooling airflow. Choose tempered modules with robust frames, anti‑glare coatings when neighbors face you, and manageable sizes you can lift alone, because convenience drives daily use more than theoretical peak performance ever will.

Storage or direct feed?

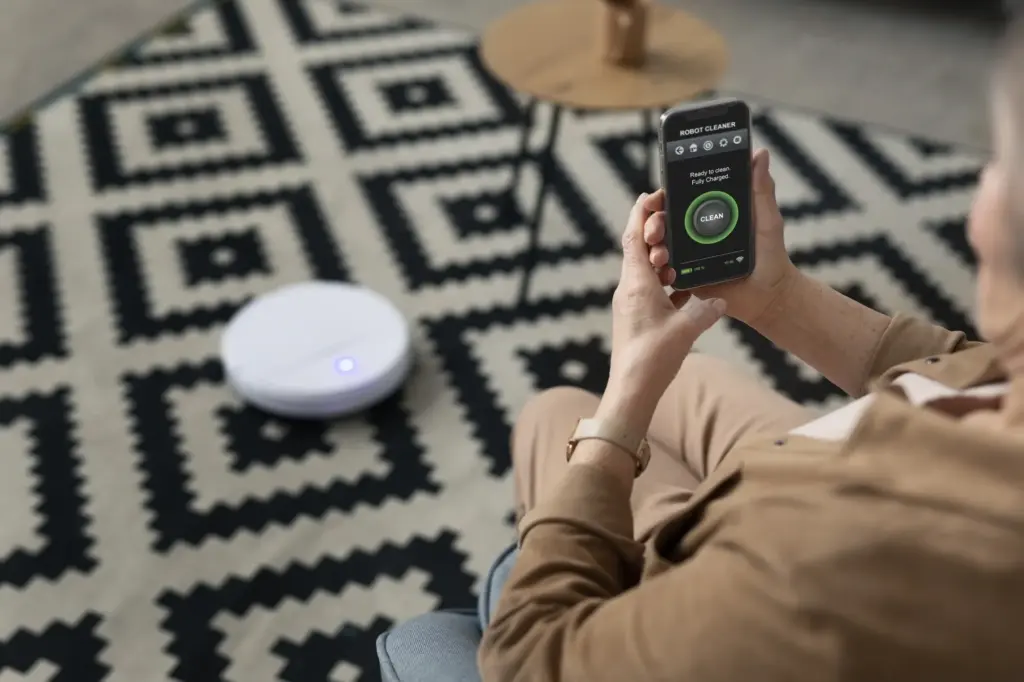
Direct feed through a microinverter offsets base loads immediately—routers, laptops, LEDs—while the grid acts like a giant battery you never touch. A portable power station, however, stores sunshine for evenings, storms, and quiet corners without outlets. Decide based on your daily rhythm, blackout concerns, and hallway outlet access, remembering many renters value flexibility, silence, safer LiFePO₄ chemistry, and grab‑and‑go simplicity during unexpected outages.

Cables, connectors, and little adapters

Use MC4 connectors with weather‑rated extension leads sized to limit voltage drop; thicker gauge reduces losses on long balcony routes. Keep AC runs short, avoid daisy‑chained power strips, and prefer a dedicated indoor outlet. Add drip loops to shed rain, gentle cable clips to protect paint, and bright tags where cords cross paths. Tidy routing prevents trips, arguments, and those unfortunate plug wiggles that waste watts.

Estimating the payoff with realistic numbers

Chasing truth beats chasing hype. Small panels at good angles can meaningfully trim standby loads and daytime work energy. Use local sun hours, shading notes, and modest efficiency assumptions rather than glossy claims. When expectations match reality, satisfaction soars, savings accumulate quietly, and you’ll naturally share honest results that help neighbors avoid disappointment while inspiring careful, steadily growing household electrification.

Mount, tilt, and test the light

Dry‑fit every bracket, then tighten only after leveling and tilt checks. Sight down the panel edge to ensure no railing casts midday stripes. Tug on safety lines, add anti‑scratch pads, and feel for vibrations in gusts. Open your meter, note open‑circuit voltage in safe sunlight, and confirm secure clamps. Small care today prevents rattles, rescues plants below, and keeps neighbors nodding appreciatively instead of frowning.

Make the first connection safely

Follow manufacturer steps: connect panel MC4 leads, attach microinverter or power station in shade, and only then plug into a grounded indoor outlet. Watch indicators confirm grid sync or charging. Never back‑feed outdoor strips or stairwell circuits. Test a lamp or monitor app for steady output. If something trips, pause, recheck instructions, and verify GFCI behavior before continuing. Safety first makes every sunny day sweeter.

Living beautifully with silent watts

A lovely setup fades into the background, quietly filling batteries and offsetting base loads while you cook, work, and relax. Clever cable paths, soft‑touch mounts, and plants hiding brackets create harmony. Silence, airflow, and safe clearances keep everyone comfortable. Your apartment remains calm and stylish as sunshine handles chores, leaving less clutter, less noise, and fewer worries when storms murmur through the forecast.

Sample setup and budget snapshot

A practical apartment build might include two 200‑watt panels, a microinverter or a midsize LiFePO₄ power station, balcony brackets, and quality cables. Prices vary widely by region and sales season, yet careful shopping finds strong value. Consider used frames, refurbished batteries from reputable vendors, and open‑box deals. Spend thoughtfully on safety gear and meters; seeing real numbers keeps enthusiasm honest and decisions wisely grounded.

Credits, registration, and utility rules

Some regions recognize plug‑in balcony systems; others require permits or dedicated circuits. Research utility guidelines, microinverter standards like anti‑islanding compliance, and registration portals if they exist. Keep serial numbers, photos, and receipts handy. Talk respectfully with building managers early, explaining safety features and load limits. Clear documentation reduces friction, builds trust, and ensures your apartment setup remains a positive example rather than a misunderstood experiment.
Kiralorivanipalolivo
Privacy Overview

This website uses cookies so that we can provide you with the best user experience possible. Cookie information is stored in your browser and performs functions such as recognising you when you return to our website and helping our team to understand which sections of the website you find most interesting and useful.